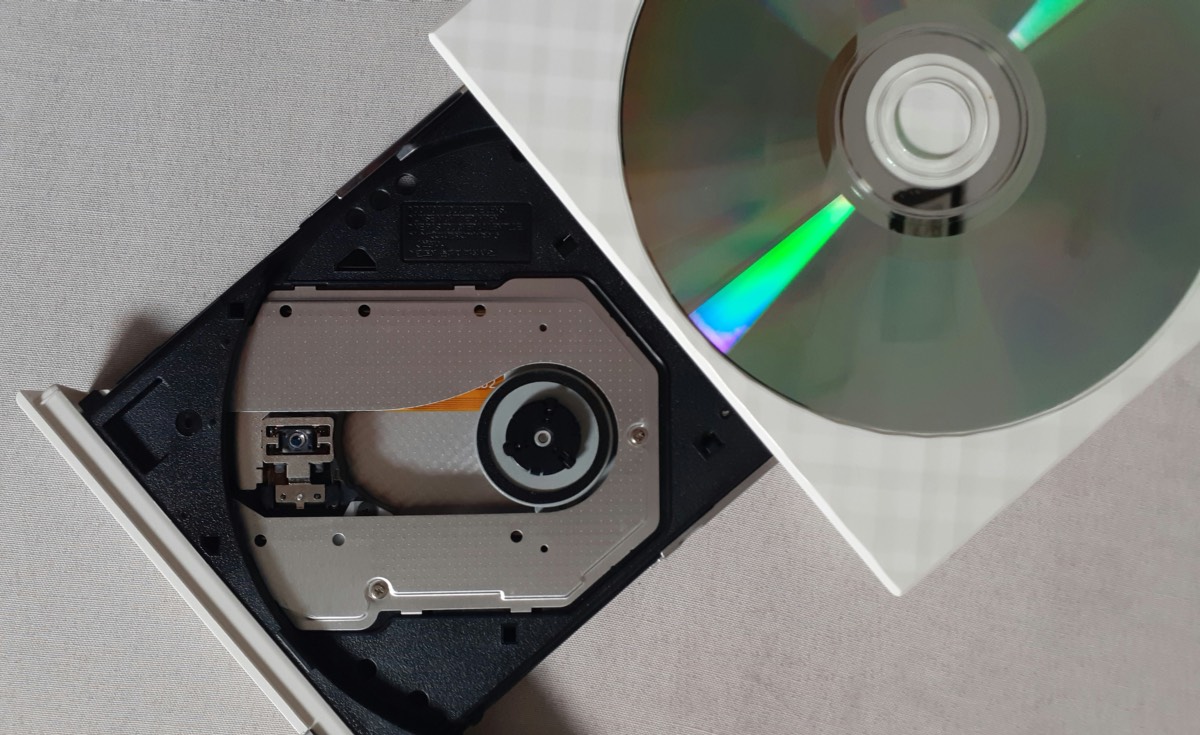
Flashing a UHD Drive on macOS (So You Don’t Waste 3 Hours Like I Did)
I just spent 3+ hours trying to get this shit to work, so I’m writing this down before I forget – mostly for myself, but also because I’m sure someone else is gonna get fucked by this same process.
There are GUI tools for Windows that are supposed to make this easy, but they didn’t work for me – even with Parallels (which usually saves my ass). The steps below are what actually worked, and I hope they save you the frustration I just went through.
1. Make Sure Your Drive Isn’t Gonna Brick
First things first – check the MakeMKV forum list of “UHD-friendly” drives before you buy anything. I went with the LG BP60NB10 because it was on the list and relatively cheap.
2. Install MakeMKV
Download and install from https://www.makemkv.com/. Pretty straightforward.
3. Find Your Drive
Connect the drive and open Terminal:
makemkvcon f -lIf you get a “command not found” error, you need to add MakeMKV to your system path. Google how to do that for your shell (probably zsh if you’re on a recent macOS).
Once it works, you should see something like this:
Found 1 drives(s)
00: /IOBDServices/7296B36D, /dev/rdisk20, /dev/rdisk20
  HL-DT-ST_BD-RE_BP60NB10_1.02_212107081556_SIM04OBLC3053
Write down that identifier (like /IOBDServices/7296B36D) and the firmware version – you’ll need both.
4. Get the Right Firmware (This Is Important)
Go to the MakeMKV forum and find the exact patched firmware for your model and current version.
Don’t fuck this up – flashing the wrong firmware will brick your drive and you’ll be out $50-100.
5. Download the Files
You need two files:
- Download
sdf.binfrom the MakeMKV site - Your patched firmware file from step 4
Put both files in the same directory somewhere you can find them.
6. Flash the Drive
This is the scary part. Run this command but replace <ID> with your drive ID and <firmware>.bin with your actual firmware filename:
sudo makemkvcon f -d '/IOBDServices/<ID>' -f /path/to/sdf.bin rawflash enc -i /path/to/<firmware>.binDo not interrupt this process. Don’t touch your computer, don’t let it go to sleep, don’t fuck with the drive cable. Just let it run.
7. Check If It Worked
Run the identify command again:
makemkvcon f -lOr just open MakeMKV. You should see Firmware Type: Patched and LibreDrive Enabled somewhere in the output.
8. Test It
Throw a UHD disc in there and try to rip it. If the drive can’t read the disc or MakeMKV is acting weird, try power-cycling the drive (unplug it, wait a few seconds, plug it back in).
Some people have to flash a downgrade firmware first, then flash the upgrade – if you’re having issues, check the MakeMKV forum for your specific model.
This method worked perfectly on macOS for me, and honestly, once I figured out the right steps, it was pretty painless. I hope this saves someone else the 3 hours I just lost to trial and error.